SANFL Player Focus: Riley Thilthorpe (West Adelaide)

IN a return to our Player Focus piece, we take a look at a South Australian National Football League (SANFL) talent who has really stood out on the League stage. In Round 2 of the competition, our eyes were on West Adelaide key forward/ruck Riley Thilthorpe, who took part in the Bloods’ dramatic draw with Central District.
SANFL STATISTICS:
10 disposals
2 marks (1 contested)
5 tackles
15 hitouts
1 clearance
1 goal, 2 behinds
Now a staple among Westies’ League setup, Thilthorpe took the field on the opposing side to fellow South Australian Academy Hub member, Corey Durdin, who was lively for the Bulldogs. Durdin was at the centre of our Player Focus piece last week, and both players have taken to senior football with aplomb.
The Bloods hit the ground running in this game with 6.5 in a hot opening term, and Thilthorpe was the unlikely catalyst. Starting at full-forward, the 200cm prospect had a remarkable first five minutes and was in everything inside West Adelaide’s attacking 50. He notched the first score of the game after snatching the ball from a contest spillage, sending a warning shot to the Bulldogs defenders.
His combination of aerial presence and ground level work helped Westies hit the scoreboard again, but this time with all six points as Thilthorpe again got his hands on a spillage at centre half-forward between three opponents, kept his hands free in a tackle and flicked out a handball to the running Isaac Johnson, who booted the game’s opening major.
Roll forward about a minute longer, and Thilthorpe was impacting the play high on the arc once more, hitting a long centre clearance ball from the side and continuing his momentum to gather the spillage and send a left-foot snap towards goal. The ball would trickle through for a fantastic goal on his wrong side from around 45-metres out, a great effort from the bigman.
Thilthorpe’s reach was also something which stood out, allowing him to get his hands on multiple passes which entered his vicinity even if he started from behind. He did not receive the best delivery early on and often had a Centrals defender sitting in the hole, although his lack of speed off the mark at times saw him caught behind his direct opponent as the ball entered his area.
The potential top five pick continued his solid form heading into the second term, doubling his impact with some work in the ruck at forward half stoppages. That reach of his constantly allowed him to bring the ball to ground despite being outmuscled or out-positioned at times, and a well directed double-handed tap down to Dallas Willsmore almost yielded another goal assist. He had the chance to boot another goal himself too, finding space deep in the forward pocket to mark but hitting the post with his set shot.
He was robbed of another beautiful snap goal in the third term as the ball fell into his lap from the front-and-centre position, before he bent the ball home with confidence. Unfortunately, a free kick was awarded to Central District for an infringement in the marking contest which Thilthorpe sat off. His impact in front of the big sticks did not look like stopping there as he sent Kaine Stevens running into an open goal, only for the star midfielder to fumble his bounce and give the chance away.
While he looked threatening up forward, Thilthorpe also got a run through the ruck rotation, starting a kick behind the ball in general play when it was locked inside the Bloods’ forward 50, and eventually attending a centre bounce. His leap may not be massive, but the Westies youngster managed to get his hand on the ball nicely against Jonathan Marsh.
Thilthorpe looked to be fading out of the game late due to a lack of opportunity and poor delivery once again, but capped off a solid day with a terrific contested mark on defensive wing, something we will be sure to see much more of in future. His work up the ground late proved clutch, despite not being able to help his side get over the line for the win. Once he gains the confidence to leap at the ball more often, those deft touches will turn to eye catching clunks.
—
Q&A: Thilthorpe/Bloods U18s
Draft Watch: Riley Thilthorpe
>> 2020 South Australia U18 Squad Prediction
>> 2020 AFL Draft Analysis: Key Forwards
>> July Power Rankings


WAFL Colts MOTR | Round 4: Claremont vs. Subiaco
CLAREMONT has moved two games clear atop the WAFL Colts ladder after defeating Subiaco by 32 points in Round 4’s standalone match. The Lions kicked away with the first four goals but were reigned back in term two and never recovered, going down 12.17 (89) to 8.9 (57). The reigning premiers, still undefeated at 4-0, […]

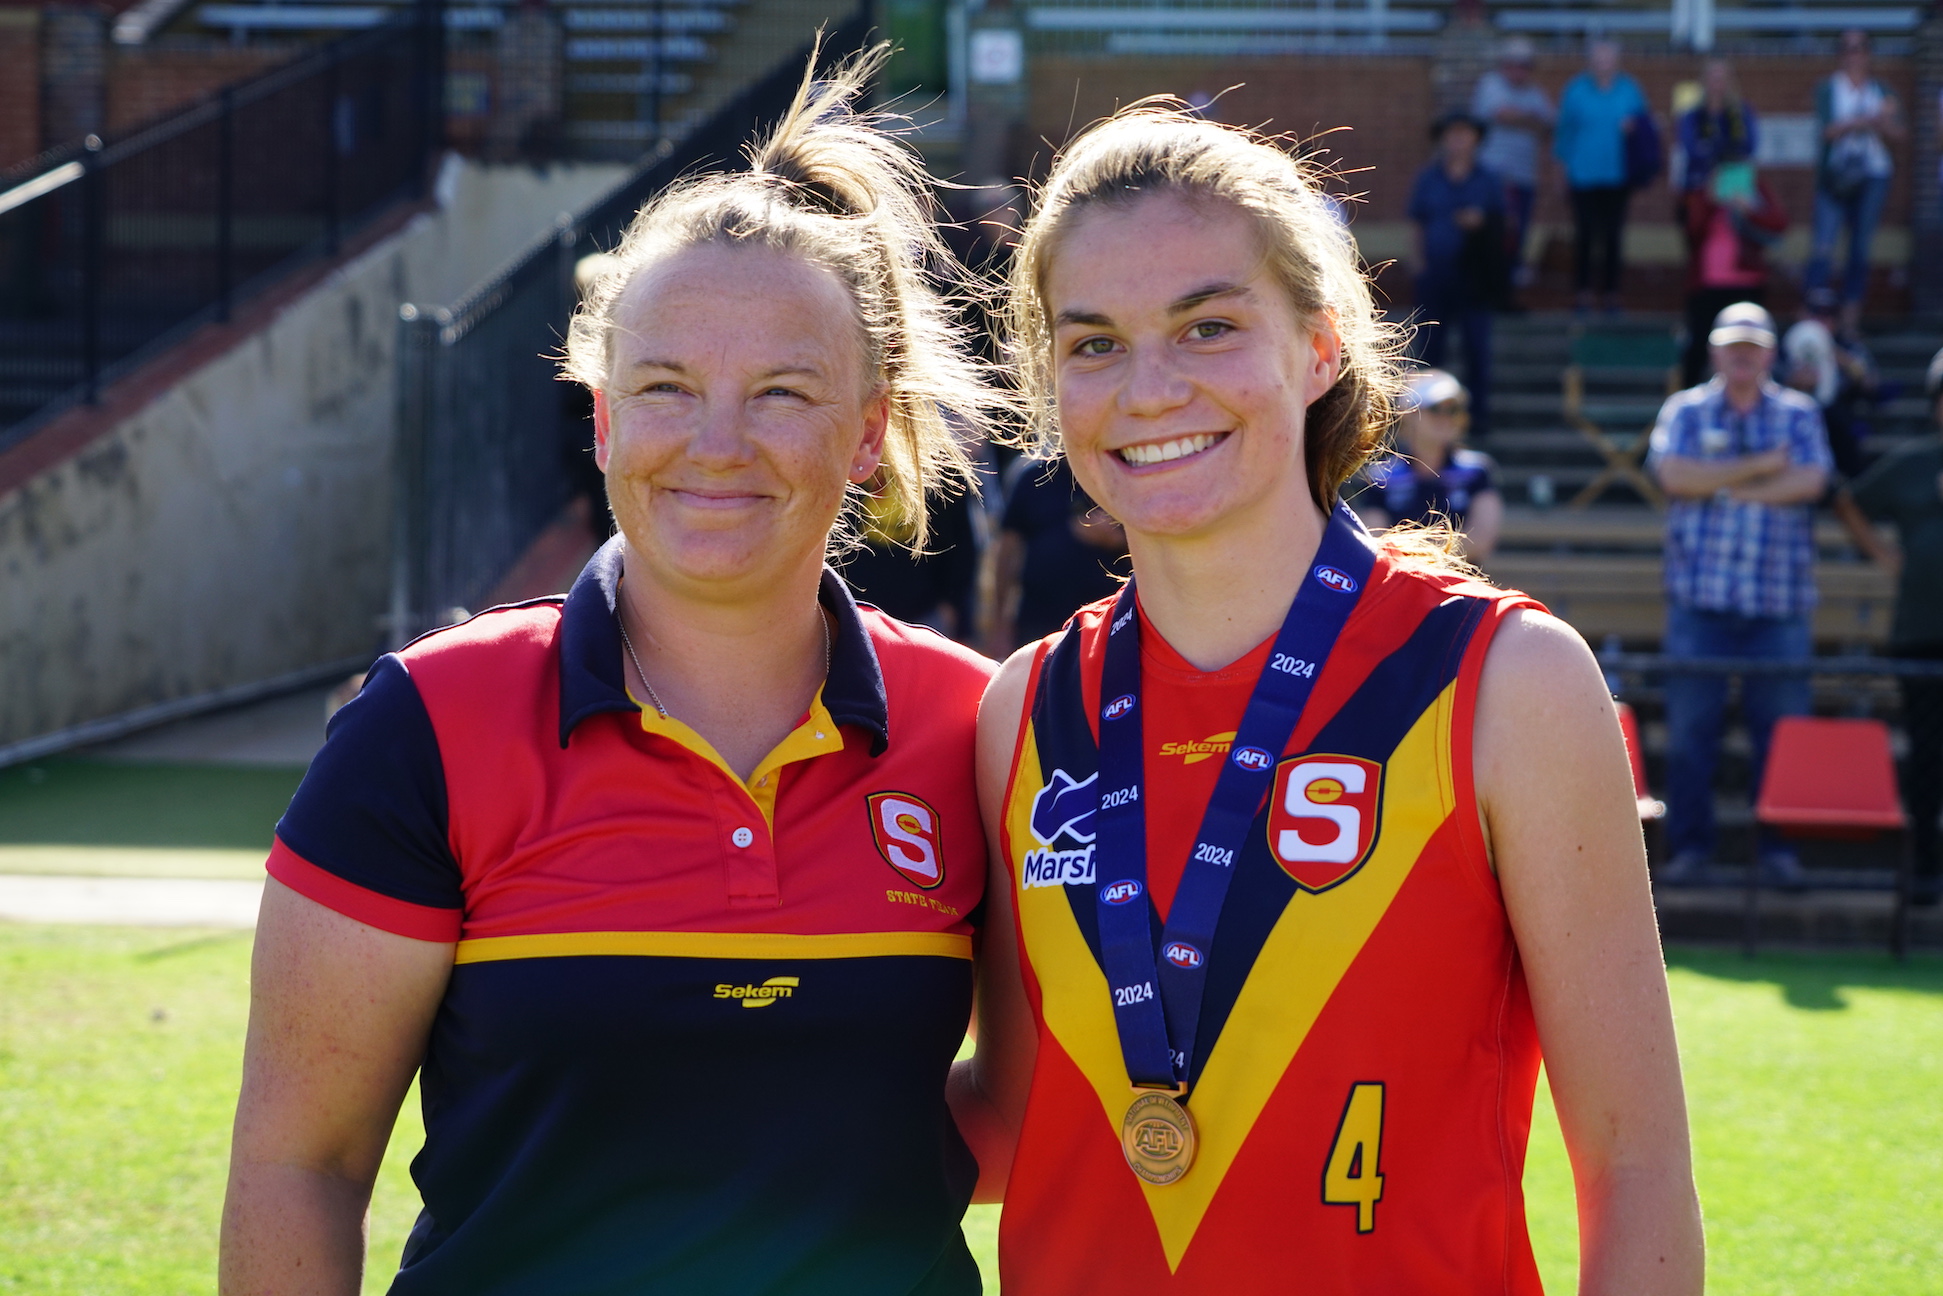
2024 SANFLW Player Focus: Grace Martin (WWT Eagles)
WOODVILLE-WEST Torrens midfielder Grace Martin is quietly flying under the radar in the 2024 SANFL Women’s season. The top-age Eagles midfielder was prominent playing on-ball in the loss to Glenelg, racking up seven clearances and seven inside 50s to go with her 10 tackles and 19 disposals. Not the largest accumulator and Martin can tend […]

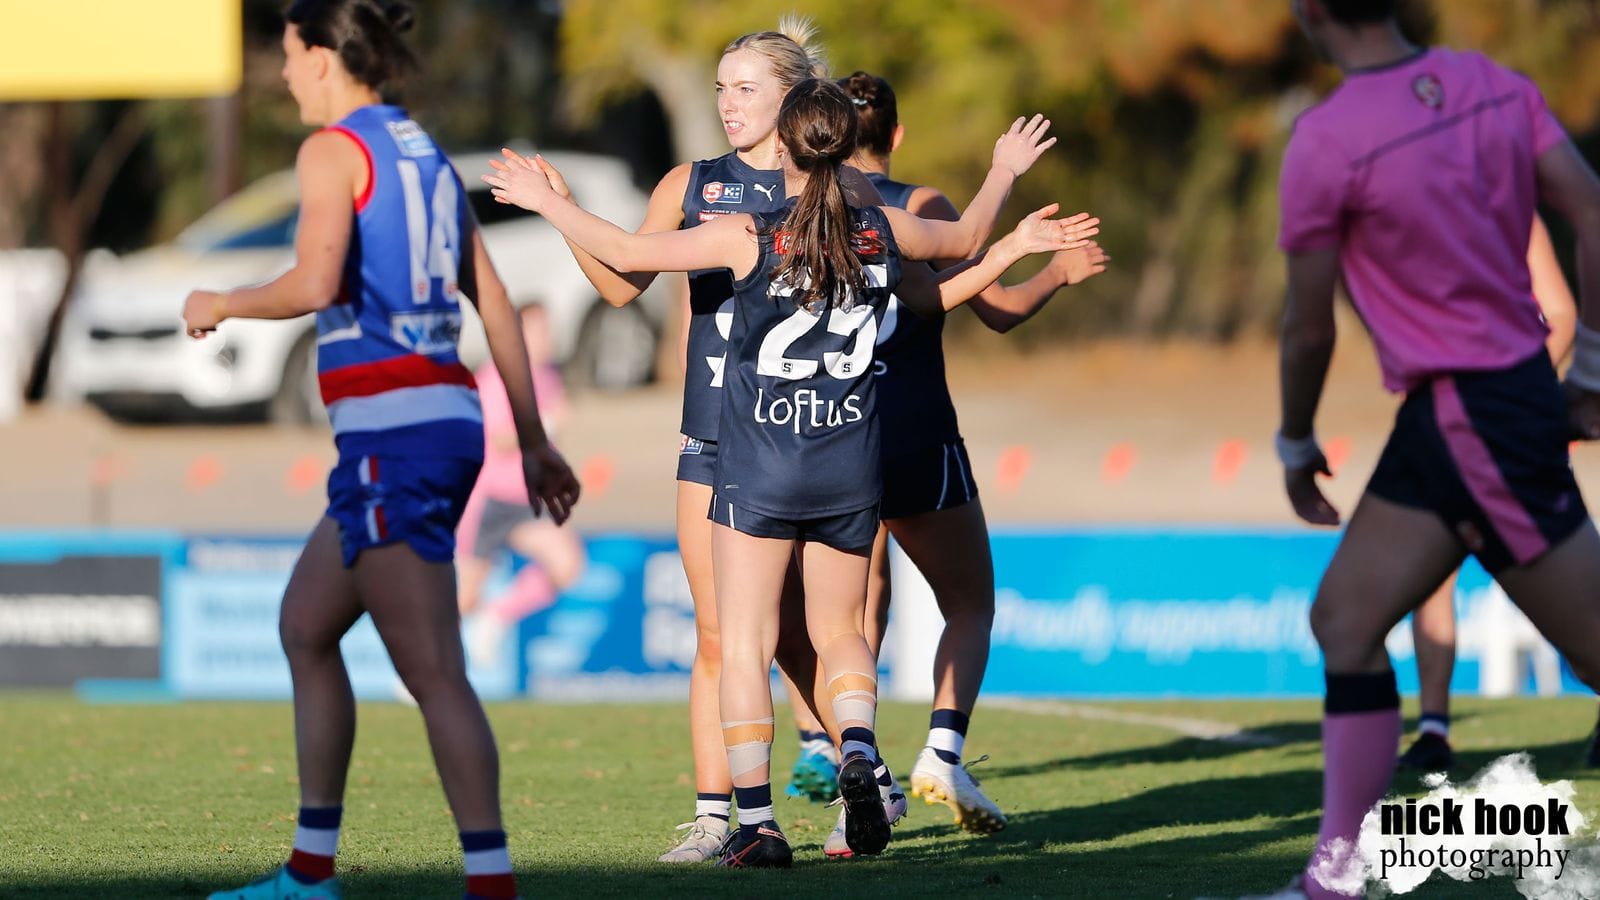
2024 Coates Talent League Girls: Round 3 wrap
TWO Northern Academy sides entered the Coates Talent League Girls competition in Round 3 as the weekend’s action extended out to seven games in a blockbuster weekend of action. We recap the standouts and how each match went down.

Scouting Notes: 2024 Young Guns vs. Vic Metro
REPRESENTATIVE and mid-season draft auditions rolled on in Victoria as the Young Guns took on Vic Metro at Avalon Airport Oval on Saturday. It was the 2005-born squad which defeated its younger counterpart by 42 points, and we were on hand to note some of the standout players. YOUNG GUNS 15.11 (101) def. VIC METRO […]
2024 AFLW Under 16s All-Australian team announced
CHAMPIONS South Australia have topped the 2024 AFL Women’s Under 16s All-Australian team nominations with with seven players, four more than any other state or Academy. Behind the Croweaters was the likes of Brisbane Lions Academy, Vic Country and Western Australia who all had three, making up 16 of the 23 players. GWS Giants Academy […]
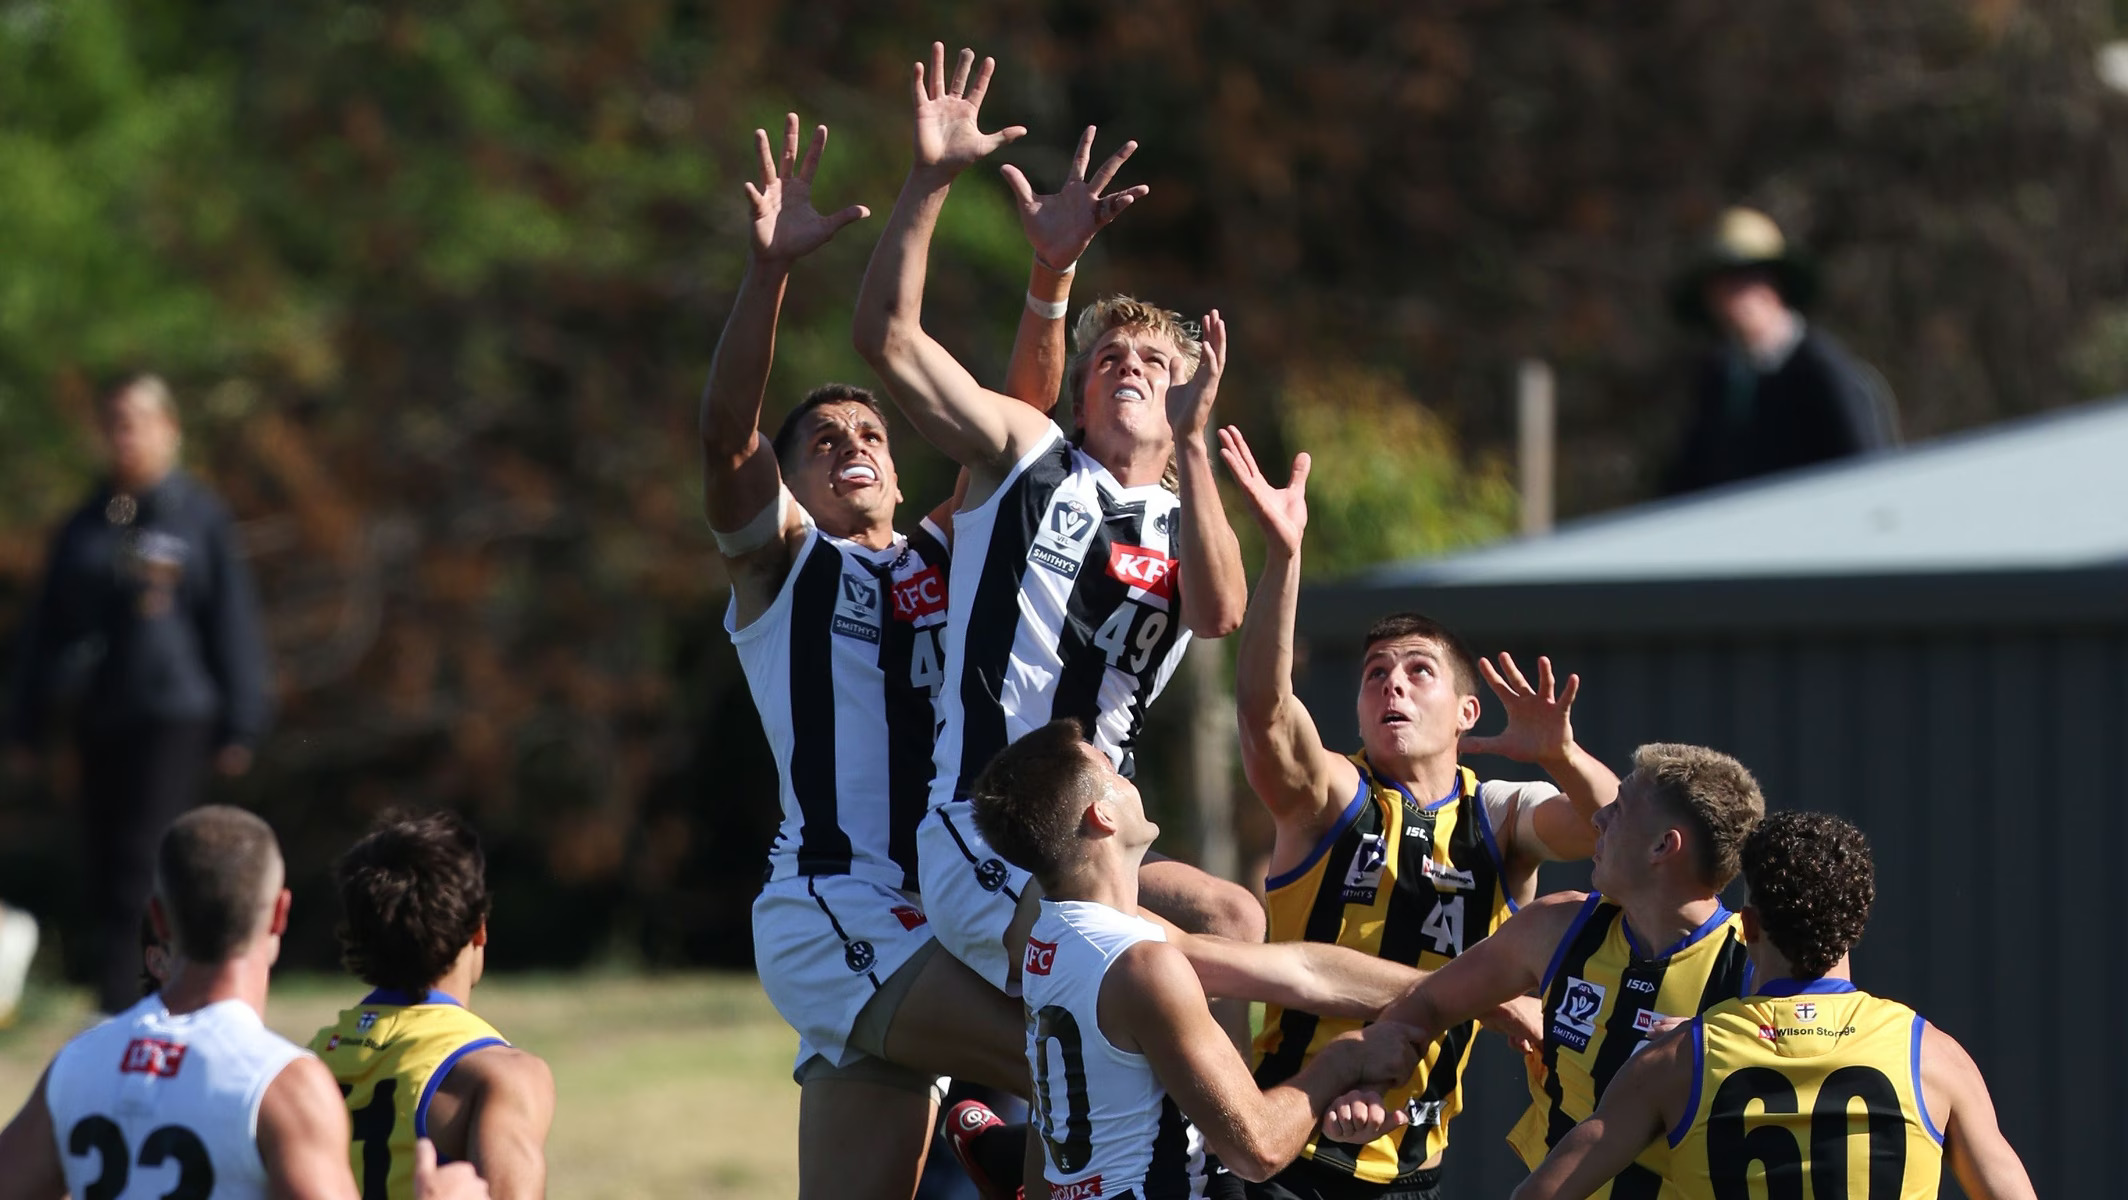
VFL Player Focus: Jack Hutchinson (Collingwood)
COLLINGWOOD forward Jack Hutchinson has emerged as one of the top mid-season draft candidates after a promising start to his maiden VFL season. The 22-year-old was recruited from Wonthaggi and has caught the eye with extraordinary high marking exploits. Hutchinson booted two goals in Collingwood’s Round 4 defeat to Coburg, which broke the Lions’ 23-game […]
2024 SANFLW R7 wrap: South sends ominous message
SOUTH Adelaide is back in a big way in the SANFL Women’s competition, winning its fourth straight match in the 2024 season, this time the grand final rematch. The Panthers proved too strong for Central District, booting the first five goals of the match and containing the Dogs to just two majors for the match […]

WAFLW R8 wrap: Bulldogs back in top four after Subi squeeze
REIGNING preliminary finalist South Fremantle is back in business after winning its third consecutive match, and fourth in five games to sit inside the top four on the WAFL Women’s ladder. The Bulldogs have lost to the top three sides but beaten the bottom four teams at the midway point of the season with seventh […]

PLAYER HIGHLIGHTS | Emma Juneja (Swans Academy)
SYDNEY Swans Academy winger Emma Juneja is a top-ager with some eye-catching traits from her burst speed, sidestep and positioning that helps her impact games. A member of the AFL Women’s Academy, the talented runner stepped out for the Swans for the first time against Gippsland Power on the weekend, and was one of the […]

[…] >> Round 2 Player Focus: Riley Thilthorpe […]
[…] League Player Focus: Rd 1 – Corey Durdin Rd 2 – Riley Thilthorpe Rd 3 – Lachlan […]
[…] League Player Focus: Rd 1 – Corey Durdin Rd 2 – Riley Thilthorpe Rd 3 – Lachlan […]
[…] >> Feature >> Draft Watch >> Player Focus […]
[…] League Player Focus:Rd 1 – Corey DurdinRd 2 – Riley ThilthorpeRd 3 – Lachlan […]
[…] League Player Focus: Rd 1 – Corey Durdin Rd 2 – Riley Thilthorpe Rd 3 – Lachlan […]