A TRULY mixed bag of NAB League results in Round 8 saw some teams play above their level and match their more fancied opponents. Plenty of players shone across the weekend, and we cast eyes on each game to provide you with notes on players selected in initial representative squads. Each note is the opinion of the individual author.
Northern Knights vs. Oakleigh Chargers
By: Michael Alvaro
Northern:
#1 Lachie Potter
It was a typical Lachie Potter game, with the Knights top-ager driving forward well off half-back. Mopping up the loose ball in defensive 50 at speed, Potter constantly looked to round his nearest opponents and boot his side forward with long kicks. While his pace is a clear strength, it worked against him at times as he tried to properly grasp the ball in the back half and fumbled early on. When he did manage to get his hands on it though, Potter often made his Oakleigh opposition look silly as he repeatedly took them and the game on. Could look to lower his eyes more often, with his kicking accuracy compromised as he blazed away, but you wouldn’t want to thwart the instincts of such a natural player.
#5 Josh D’Intinosante
Was not a massive game from D’Intinosante, but his work rate inside forward 50 and at the coalface in midfield was outstanding. ‘JD’ dug in with repeat efforts and was constantly on the move at stoppages, while also leading smartly when starting forward to be hit up inside 50. His kicking lacks a touch of penetration at times, and D’Intinosante looked wary of that as he looked to find targets closer to goal when others may have had a shot around the arc. While his disposal efficiency was compromised by the amount of contested ball he earned, D’Intinosante usually made good decisions when given time and showed his goal sense despite not finding a major. Took a good overhead mark going back with the flight during the third term, and is certainly a trier.
#7 Ryan Gardner
Playing mostly through the midfield, Gardner was reasonably quiet through the middle stages of the game, but was impactful in a tight final term. Gardner popped up with a couple of nice running clearances and balls inside 50, with one ending in a missed shot on goal. While he could not quite drag his side over the line, Gardner’s work at the forward-half stoppages was great to watch in the final 25 minutes, and showed plenty of the promise we saw in his bottom-age year. Was clean at ground level and bided his time well in traffic, while also cashing in with a goal from a 50-metre penalty in the third term.
#11 Ryan Sturgess
Sturgess is as reliable as they come, constantly providing an outlet option in the back half and positioning himself well to intercept. Those traits boded well for his role of sweeping up across half-back, with his efficient kicking also ensuring he was trusted with kick-in duties. Took on a slightly different role in the second half as Oakleigh threw co-captain Dylan Williams forward, with Sturgess the obvious match-up for him. While Williams would boot two crucial goals and trouble Sturgess with his athleticism, the Knights defender was unlucky to concede one of them with a free kick as the two tussled one-out. Was unlucky as Williams assisted another goal too, with Sturgess left to mark two Chargers players inside 50, and coming off his man to very nearly stop the move altogether. Not a bad outing, and continues to be one of Northern’s most consistent.
#13 Sam Philp
Philp was the standout Knight on the day and is an absolute bull in the midfield. The contested-ball machine won most of his 28 possessions himself, and pushed his side forward with nine clearances. Did well to get involved outside of the stoppages at both ends when running through midfield, and accumulated nicely across the day. Would spend time forward in the second and third terms, but found the goals with a clutch set shot conversion in the fourth quarter after moving back into the middle. Looks increasingly composed on the ball, but can sharpen up his kicking.
#27 Ewan Macpherson
By no means a huge accumulator, but Macpherson looks a tidy player. Has found his spot in the back six now after a slow start to the season and is usually a neat user, finding a good amount of ball at ground level. Positions well in defence and as a smaller player, is starting to pressure more. Looks a different type of player to his brother, Darcy, and is starting to adapt.
Oakleigh:
#5 Trent Bianco
Bianco was down on his usual numbers, and struggled to break through with the run and carry we have come to expect from midfield. Still by no means had a bad game, winning 17 disposals and having 10 tackles to show his work rate at the stoppages. The Oakleigh co-captain almost found the goals with a snap and set shot attempt, but also spent some time on the outer of the arc as Oakleigh looked to lock it in. Was employed off half-back at times too as he hoped to find more space, and provided his usual rebound from there.
#6 Jeromy Lucas
The GWS Academy product accumulated well throughout the game, and started brightly with a sharp kick forward as he carved a run through midfield. Lucas moved onto the wing as Oakleigh looked for more outside run, but he looked to be a bit down on confidence after missing a few kicks and being caught holding the ball. Lucas went to ground on occasion with opponents nipping at his heels, but still managed to find the ball and looked better with his disposal by hand. Has the potential to provide more damaging kicks, as showcased by another neat find going inside 50 during the final term, but he was a touch inconsistent in that area on the day. A solid outing.
#23 Dylan Williams
The Oakleigh co-captain proved a match-winner as he moved forward in the second half, and always makes defenders wary of his presence. Starting off half-back as he increasingly does, Williams showed his smarts with some good positioning to intercept a couple of errand Northern kicks forward. Williams was provided with plenty of instruction when he came to the bench and is clearly still adapting to the new role, with his clear skill and smoothness on the ball carrying him through. He is so effective one-on-one and creative forward of centre, so it was no surprise that he made an immediate impact when moved forward. Almost created a goal with a beautifully weighted left-foot kick inside 50, but later found the first goal of the final term as he marked on the behind line. Got out the back smartly to provide Thomas Graham with a goal, while garnering enough attention from his direct opponent to win a free kick and boot the deciding six points half-way through the last quarter. So obviously talented, and almost impossible to stop one-out inside forward 50.
#27 Josh May
May was a constant on the wing for Oakleigh, proving most effective by hand in tight situations and driving forward well by foot. Was involved early and stood out with his ability to keep his hands free in tackles, also keeping his feet and flicking the ball out to runners. Laid a nice holding the ball tackle on defensive wing and kicked beautifully inside 50 to Spiros Sklavenitis to cap off a solid first term. While he was a touch quieter in the middle-stages, May came back into the game with another long find going inside 50, and a solid one-on-one mark on the wing to finish off.
Bendigo Pioneers vs. Sandringham Dragons
By: Joe Lee
Bendigo:
#1 Sam Conforti
The silky left footer was reasonably quiet, held to 15 touches. Was in and out of the game but was able to manage 12 kicks and used his disposal effectively. Works hard both ways but was rather subdued by Sandringham’s dominant midfield engine room.
#11 Aaron Gundry
The ruckman finished with 13 disposals and 22 hit-outs, capping off a trying day. Worked hard when thrown both forward and back, the mobile big man moved well around the ground and fought hard against Sandringham’s duel ruck rotation.
#20 James Schischka
The intercepting defender worked tirelessly all day, even managing a goal from his 14-disposal, five-mark effort. Took a nice intercept mark playing as a loose man in the third quarter but was otherwise reasonably quiet for the most part. His highlight of the day was when he intercepted a sloppy kick from Tyson Milne in the goal square, nailing an easy goal to put Bendigo up deep into the final quarter.
#21 Riley Wilson
Playing up forward, Wilson had one play in the dying stages of the fourth quarter where he tackled which resulted in a free kick in the Bendigo back half, setting up the play for a Pioneers goal. Finishing with 23 touches, six tackles and six rebounds, Wilson was a clear standout for the Pioneers, working tirelessly against a strong opposition midfield.
#59 Riley Clarke
The electric forward only had six touches for the day but was a dangerous avenue to goal. Ended up kicking two goals, and Clarke did a number of show-stopping things, including plucking a brilliant one-handed mark on the run. Sprayed a couple of shots on goal but his marking was solid, including taking a hotly contested lead-up effort and converting the set shot from about 40m out. Does drift in and out of games but his sticky hands when marking makes him a threatening proposition for opposition clubs to curtail.
Sandringham:
#5 Ryan Byrnes
Byrnes was sensational for the Dragons, bursting away from stoppages all day and dominating in the contest. Finished with 31 disposals, seven tackles, five inside 50s and a goal. Was let down by a few inside 50 entries that were gifted to the opposition but was overall outstanding from the first siren. Had a five-disposal chain of play in the third quarter and got on the end of some Miles Bergman brilliance in the fourth, taking a nice mark in the goal square and converting. His consistent performances have been key for Sandringham, standing up in the absence of his usual midfield mates. Byrnes could not have done much more for the Dragons.
#6 Miles Bergman
Bergman could have possibly had a huge game had he made the most of his ample opportunities in front of goal. The hard-working midfielder slotted an inaccurate 1.5 but made up for this with his work around the ground, recording 19 disposals to go with nine tackles and six inside 50s. Bergman’s offensive and defensive traits were on display all game, including a fantastic run down tackle effort in the second quarter, showcasing his elite closing speed and desperation. Was played out of the goal square and won most of his one on ones, providing a headache for Bendigo defenders. Almost kicked a Paddy Dangerfield type goal in the fourth quarter, breaking away from the centre at pace, taking a bounce and driving it long to the square where the Dragons eventually goaled. Followed it up later with a delightful snap around the body to finish off a good passage of play from the Dragons. Played a monster final quarter when the game was on the line.
#15 Angus Hanrahan
Hanrahan continued his strong form into Echuca, recording 26 touches and six marks. In a game where space was hard to find, Hanrahan managed to show his good breakaway speed out of stoppages and showcased his athleticism and agility. Wasn’t as attacking with his use as he has been and failed to hit the scoreboard but played more of a midfield role. His clean disposal stood out and he started the game off strongly. Is often unmanned at stoppages and positions himself as an attacking option, often picking up the loose ball and driving it forward.
#28 Riley Bowman
Shared the ruck duties with Andrew Courtney for the majority of the game, and Bowman again impressed with his work around the ground, finishing with two goals from 14 touches. Was one of the Dragons’ best and displayed his capacity to perform in all aspects of the game, with four tackles, four marks and 19 hit-outs to go with his work up forward. Spilled a simple chance late in the last quarter but followed it up with a tackle that he won a free for, converting the straight-forward shot. Used the ball well by foot and makes his presence felt both in the air and on the ground.
#30 Andrew Courtney
The athletic ruckman was used more around the middle of the ground rather than being plugged at either end, amassing 29 hit outs and nine disposals. Courtney was serviceable for the Dragons but doesn’t do as much around the ground, as evidenced when he found space to run and carry in the second quarter but instead opted to blaze away and cough the ball up. Can also work on using his big frame more effectively to outmuscle smaller opponents and could be more aggressive to show his physical presence.
#32 Jack Bell
The tall forward finished with only one goal from three shots but showed he can be a damaging proposition, with his vertical leap and strong hands enabling him to obtain six marks from 10 disposals. Pinch-hit in the ruck as well, and Bell’s solitary goal came from a well-timed lead to a good area where he was hit on the chest by Jack Bowey, nailing the set shot from 40m out.
#33 Corey Watts
The lock down key defender was outstanding for the Dragons, with his defensive work rate and intercept marking on show all day. Watts had one terrific defensive effort in the third quarter, running off his man to pick up the ball and rebound 50, hitting his teammate lace out on the wing. Finished with 12 touches and three marks, Watts showed he’s more than a negating player, with his offensive attributes being utilised to push Sandringham forward from siren to siren.
#43 Jake Bowey
The zippy wingman worked up and down the ground, registering 17 touches, four inside 50s and five marks. Copped a big elbow to the neck region in the second quarter and had to be assisted off but finished the game to play a strong role in Sandringham’s victory. Always uses the ball well by foot and plays the percentages well. Really lifted in the last quarter, putting his small frame on the line but also providing a strong outlet for defenders, often breaking into space on the wing and providing an option.
Murray Bushrangers vs. Calder Cannons
By: Scott Dougan
Murray:
#3 Ben Kelly
Kelly started in the ruck and was constantly involved. He also spent plenty of time up forward where he proved to be very difficult to stop, especially in the air. Kelly took several strong, contested marks which resulted in two goals for his team. He showcased his reach, athleticism and sticky hands throughout the match. He ended up with 13 disposals, 15 hitouts, five marks, and two goals.
#5 Cam Wild
Wild was the Bushrangers’ best midfielder on the day. He found plenty of the pill and never faded out of the contest. He had a few fumbles early on, but he was still able to move the ball forward. One of his best passages of play came in the third term when he took a courageous mark running back with the flight of the ball. Wild had a team-high 27 disposals, along with seven marks and a goal.
#7 Zane Barzen
Barzen was able to hit the scoreboard early, with a fantastic left foot snap in the first quarter. He would then fade in and out of the game throughout the next three quarters. He was very good in patches and his ball use moving forward caught the eye.
#14 Jye Chalcraft
Chalcraft did not have the biggest game possession wise, finishing with just 13 disposals. But the majority of his touches were very effective and had an impact on the game. His cleanliness at ground level and vision around the contest was noticeable. Chalcraft had an influence defensively, laying a game-high seven tackles.
#19 Jimmy Boyer
Boyer was relatively quiet, accumulating 16 disposals (15 kicks). He spent time through the Bushrangers midfield and across half-back. His ball use was generally good, but he did miss targets on occasions. An okay game from the talented midfielder.
Calder:
#1 Daniel Mott
Mott was prolific around stoppages, winning a lot of his possessions on the inside of the contest. He also won plenty of the ball on the outside, where he used the ball effectively by foot. Mott ended up with a game-high 29 disposals and one goal.
#8 Sam Ramsay
Playing on the wing, Ramsay was involved early and was able to hit the scoreboard in the first term after crumbing a marking contest to perfection. His kicking skills were top notch and he always ran hard into open space, where he would make himself a good option for his teammates. Ramsay kicked his second goal of the day in the third term when he ran into an open goal, giving the Cannons a 40-point lead. He had the chance to kick another goal moments later, but his shot on goal hit the woodwork. Ramsay collected 17 disposals and kicked two goals.
#30 Josh Kemp
Kemp started well, laying a really strong tackle on his opponent that resulted in a free-kick and shot goal on goal, which he converted successfully. He was able to hit the scoreboard again in the second term after taking a good grab inside 50. Kemp also laid some impressive tackles on the day.
#38 Brodie Newman
The general down back was very solid offensively and was just as good defensively. He had 24 disposals (16 kicks) and continually used his powerful leg to drive the ball out of the back half. Newman was the perfect player to have the ball in hand because of his clean skills and decision-making. A solid all-around game.
Geelong Falcons vs. Western Jets
By: Taylah Melki
Geelong:
#12 Noah Gribble
Won plenty of the footy and was clever with ball in hand. He used his body well to win possession and went in hard time and time again. Good strong hands and read the flight of the ball well. Give it and go mentality and runs hard to create space for the Falcons. Good evasive skills to sidestep an opponent and then dispose of the ball to a teammate further afield.
#36 Charlie Sprague
Clever kick and good spatial awareness to push the ball forward and create a scoring opportunity for his teammate. Missed a shot at goal after rushing the kick but he had more time than he expected. He consistently tried hard to win the ball and create pressure in the Falcons attacking 50 to give his side scoring chances. Harassed his opponent both at ground level and in the air making him work for each possession. Sprague showcased good football smarts to hit up teammates on the lead in the attacking 50 with well weighted kicks and won plenty of the footy getting into clever positions across the ground.
#37 Oliver Henry
Henry got into good damaging positions but was unable to convert in front of goals slotting three behinds for the afternoon. He had good hands under pressure to take some strong marks. Good lead up at the footy and clever leading patterns able to take the mark under pressure. He applied good defensive pressure in the last term to worry his opponent out of the kick and cause him to turn the ball over in the Falcons forward 50.
#40 Jesse Clark
Good strength around the contest and was able to stand up in the tackle and keep his arms free in the third term. He was involved in the play and worked hard to win the ball in and around the contest. Reads the play well and has quick hands to move the ball out of congestion and into space. Good body work to take a nice grab, shake off his opponent and then go for a run but was unable to convert in the last term only registering a point.
Western Jets:
#7 Daly Andrews
Andrews was impressive throughout the game with his quick hands and worked hard at the stoppages to win the ball and dish it out to teammates. Used the ball well with a clean pick up to turn and then kick the ball inside the Jets attacking 50. Took plenty of strong grabs and showcased his ability to read the flight of the ball and get into the right positions across the ground. He did a wealth of work across the ground winning the ball from half back and then pushing forward to create options in the forward half. He showcased some good dash to break away from the pack and go for a run along the boundary line to create some forward momentum for his side.
#20 Darcy Cassar
He won a truckload of the footy and was constantly involved in the contest across the ground. Cassar worked hard to impact every play and ensure he was an option. Good sidestep to get around his opponents and ran hard to create space across the ground. Clean at ground level and used the ball well with majority of his possessions kicks. He was important across the back half running the ball out of defence time and time again. He showcased his strength to stand up in a tackle and still get rid of the ball to a teammate. He was classy with ball in hand and tackled hard to win the ball back for the Jets credit.
#24 Josh Honey
Good attacking play to keep the ball moving, used his quick hands and good vision to pass the footy off to an opponent streaming by in better position. Clever back up play to help out his teammates and provide running support. Honey applied good strong physical pressure laying some crunching tackles with a big tackle in the third term to win a holding the ball call. Clever goal in the third term to pick the ball up cleanly and then stream into an open goal square and kick it straight through the middle.
#47 Will Kennedy
Good turn of speed on the lead to accelerate away from his opponent and take the mark in the forward 50 but did not score on that opportunity. Kennedy did a wealth of work moving between a variety of positions and covering the ground well to impact the play. Good body work to win the ball in the ruck against a bigger bodied opponent. His ground work and follow up efforts were impressive, tracking the ball well at ground level and winning plenty of the footy.
Tasmania Devils vs. Dandenong Stingrays
By: Ed Pascoe
Tasmania:
#1 Mitch O’Neill
O’Neill had a quiet game by his standards and struggled to get any meaningful run or touches for a good portion of the game. The intent was there with his attack on the ball and the man, but was sometimes a bit overzealous with his tackling which resulted in a few frees against. It was not until the last quarter where he really started to turn the game, being swung forward and kicking two quick goals while looking very lively and dangerous whenever the ball went inside forward 50. O’Neill had a few nice kicks but a few poor ones as well throughout the day, but one kick was perfectly weighted to a teammate in the second quarter. O’Neill finished the game with 15 disposals, five tackles and two goals.
#3 Oliver Davis
Davis was a ball magnet through the midfield, winning it both at the contest and around the ground. His smarts with ball in hand was notable, very rarely missing a target and rarely taking the wrong option and a lot of his disposals came from knowing where the ball was going to be next whether that was roving a pack in defence or getting forward of centre in space to kick long inside 50. Davis finished the game with 33 disposals, seven marks and nine inside 50s in a best on ground performance where he couldn’t have done much more and certainly looked a mature player and leader despite not being eligible until the 2020 draft.
#7 Matt McGuinness
McGuinness was one of many solid performers down back for Tasmania he read the play well and had a good mix of defence and offence. He kicked a lovely goal on the run, running past a teammate who had marked inside 50 and that was just before the quarter time siren to give his team some momentum. The standout trait for McGuinness was obviously his kicking with his left foot hitting targets at will whether that was short or a big long 50m kick. He also intercepted well and was a calm head down back. McGuinness finished the game with 21 disposals, eight marks, five rebounds and a goal in a well rounded performance down back.
Dandenong:
#2 Hayden Young
Young battled hard down back and was a strong contributor for Dandenong across the four quarters. He was strong in defence early with a strong tackle and his general attack on the ball was stellar. A feature of his game was his kicking where it was not only penetrating but long and dangerous often perfectly placed for the leading target. He was moved to into the midfield in the last quarter and attacked the ball well but it was his work down back that again stood out most taking a very strong intercept mark late in he quarter when the heat was on. Young finished the game with 19 disposals and four rebound 50s.
#18 Mitch Riordan
Riordan was a constant in the Dandenong engine room as a standout at the stoppages with his attack and clean hands at the contest. He hit the scoreboard early taking a nice intercept mark and kicking the set shot goal in the first quarter. His second and last quarters were his most productive and eye catching, and he showed some nice burst to evade a tackler in the second quarter and also worked hard behind the ball to help out his defenders and in the last quarter. He was pivotal at the stoppages winning some big clearances and eternally using the ball well. Riordan finished the game with 23 disposals, five tackles, five inside 50s and a goal.
#20 Sam De Koning
De Koning started the game forward and standing at 200cm was there to be a marking option but didn’t quite excel at the role. He did however get a nice front and square at a marking on test deep in the forward pocket – showing his clean hands and agility for a tall but was unfortunately taken in a good tackle. he got to pinch hit in the ruck in the first quarter and actually looked quite impressive with his leap and good taps. He was moved to defence rather quickly and showed his good rebound and clean ball use and he also did look more comfortable back there, he rarely fumbled at all and was very clean at ground level which is often an issue for players of his height. De Koning finished the game with eight disposals but rarely wasted his touches.
Gippsland Power vs. Greater Western Victoria Rebels
By: Peter Williams
Gippsland:
#4 Sam Flanders
Had a productive day at the office playing through the middle and pushing forward. Worked hard at the stoppages, showing clean hands at ground level and able to handball clear to free teammates on the outside. He had the smarts to draw a couple of players running the opposite direction and handballed over his head to a teammate who was free because of the move. He did not rush and assessed his options well throughout the day, and had two of the easier goals he will kick in his career, receiving a couple of handballs over opponents to him in the goal square – first from Riley Baldi in the opening term and Charlie Comben in the final term, to finish off his hard work in the middle with two majors.
#6 Riley Baldi
Just gets to the right positions and finds a truckload of the ball. His vision and work rate is very high, but his execution by foot can let him down at times. A couple of early inside 50s were swallowed up by opposition defenders just because they went to the wrong side of the one-on-one contest. His field kicking through midfield was better as he used his vision to see free opponents streaming down the middle and used it to open the game up. Set up a goal to Sam Flanders and another to Josh Smith, while having a funny moment where he put his hand up for the ruck stoppage despite Smith being there. Baldi read the ball of ruck hands well throughout the game.
#10 Leo Connolly
A slick mover, Connolly was impressive in patches throughout the game, particularly moving forward in transition. He was able to spin out of trouble early in the game and handball free, something he did a number of times, using a neat sidestep to create his own space in close. He laid some good tackles and had a long shot on goal which just fell short and rushed across the line in the second term. Found space in the last quarter and marked from a short Charlie Comben kick and put it straight through the middle from 45m out.
#12 Brock Smith
Did not have the prolific numbers of past weeks, but did not need to given the lack of entries inside the defensive 50 at times. Such was Gippsland’s dominance in the first half, Smith often pushed up the ground and worked well to add an extra number to the contest, handballing with teammates to get the ball moving in transition. When in defence he settled down the side and used the ball well under pressure to gain distance up the field. Took a very good mark one-on-one against Mitch Martin in the goal square to save a certain goal, and even when he lost front position in a marking contest managed to win the ball with great second efforts. Did all he could deep in defence.
#15 Ryan Sparkes
Did well on the outside working hard up the wing, but also went in to win some hard balls at ground level, clean with his hands to spin out of trouble whilst under pressure to handball to a teammate. He just burrows in at ground level and wins his own footy, then can spread to the outside and provide an option. Had a good fend-off in defence to get the ball free to a teammate by hands.
#16 Josh Smith
A big game from Smith who while he did not see much of it in the final term, had a massive first three quarters and was close to best on ground. He provided a presence with his marking ability and lead out strongly, taking the ball out in front, but also worked hard with his second efforts to make a contest at ground level. Smith finished with three goals, booting one from a mark early, and two from snaps, including his second after dropping a mark he should have taken, grabbing the ball and putting it through off a couple of steps. Had a chance for his fourth from long range which was on target, but was rushed across on the line. Laid tackles and bumps for his teammates, while sharing the ruck load when not inside 50.
#19 Fraser Phillips
Phillips continued his good form this season, creating a number of chances inside 50 and booting a couple of goals. Had an outside of the boot kick to Josh Smith in the opening term, with Smith converting the opportunity, then had his own chance but drifted to the right. Kicked his first from a snap, then missed another chance this time to the left. Had some hit and miss passes by foot at times trying to keep the ball low, but worked hard pushing up to the wing, and even won a possession in the defensive 50. Laid a great tackle on the wing to show off his defensive capability and then kicked the perfect set shot in the third term after winning a free kick from being thrown to the ground. Had another couple of chances in the fourth term when he had a long shot from just inside 50 which was touched on the line, then attempted a dribble goal under pressure but bounced the wrong side of the post.
#22 Zach Reid
Used the ball well in defence and was strong overhead, seemed to move well around the ground but at times was a tad slow to react and was tackled a couple of times, forcing him to rush his disposal. Reid showed off a nice long, technically sound kick and showed good body work on his opponent one-on-one deep in defence.
#37 Harrison Pepper
Had a few nice plays when up the ground, providing a stronger body at stoppages, winning the ball in the middle and putting it into dangerous positions which yielded a goal in the second term. He was quick to dispose of the ball when winning it on the inside, and spot up a free teammate on the wing. Had a nice run in the third term, fending off an opponent and charge inside 50 but his low kick just missed its target.
GWV:
#3 Toby Mahony
Mahony had some nice plays throughout the game, not winning heaps of the ball, but still showing off some quick hands at stoppages. He had a smart movement in the first half, winning the ball at ground level, rolling over, getting his hands free and handballing to a teammate. Mahony won a free kick in the third term for being infringed in a marking contest but his shot from 40m drifted to the right. He had a great clearance and kick out of the middle in the final term as well.
#4 Jed Hill
Played through the midfield and up forward, taking a sliding mark inside 50, then having a long range shot but it fell short and was intercepted in the goal square. He laid a great tackle deep in attack in the second term, and was more prominent through the stoppages, then kicked long inside 50 to Matty Lloyd’s advantage – though he could not capitalise with the mark – after Hill’s opponent fell over just outside 50. He had a unique attempt on goal in the third term kicking it off the ground, but it went across the other side to the pocket and just stayed in for a throw-in.
#7 Mitch Martin
Showed good tackling pressure early in the game and was able to extract the ball from tight situations. Did not win a heap of the footy on the day, but was able to find space inside 50, taking a mark and then having a set shot after the siren in the first term which went to the right. Had a quieter second half, but took a good mark inside defensive 50 under pressure.
#10 Matty Lloyd
Had a nice play on the wing at one stage where he fended off an opponent, handed it off, received the ball back then kick low into a sliding Jed Hill inside 50 in the opening term, and had a chance on goal in the second when he kicked long, received the handball back, had a long-range shot but it went to the right. Had another shot on goal with a snap but missed. Another player who was okay without standing out.
#13 Jay Rantall
Rantall’s big ball-winning streak continued on the weekend with another 30-odd touches and he just keeps running. A massive endurance base, Rantall often wins the ball in tight and handballs out to a free player, while also laying some good tackles. He was not afforded the space he often can get during games, but still played his role in the midfield and was a key player in the Rebels’ better second half. His kicking is hit and miss, but his goal sense is still good, kicking a long-range goal from free play 50m out late in the final term. He had a snap just earlier but was smothered off the boot. His quick hands from congestion to the outside is a highlight.


PREVIEW | 2024 WAFLW Round 8: Saturday
THREE matches take place tomorrow as Round 8 of the WAFL Women’s competition begins. The pick of the bunch is between two finals contenders coming off victories in Subiaco and South Fremantle, while other sides battling for the eight, Swan Districts and West Perth also promise to produce a ripper. In the anticipated one-sided contest […]

2024 SANFLW Round 7: Saturday preview
A GRAND final rematch opens a massive day of Saturday action for the final three games of Round 7 in the SANFL Women’s competition. Both South Adelaide and Central District sit at 4-2, while the stakes are just as high for both 3-3 sides in Norwood and West Adelaide, as Sturt and North Adelaide both […]

PREVIEW | 2024 Coates Talent League: Round 4
NORTHERN Academies enter the fray as Round 4 of the Coates Talent League gets underway on Saturday. The Swans Academy takes on Gippsland Power before cross-town rival Greater Western Sydney hosts Tasmania Devils in Blacktown on Sunday. The round will be stretched across six days, with the Northern Territory Thunder Academy playing the first of […]

PREVIEW | 2024 Coates Talent League: Northern Academies
THE 2024 Academy series is set to get underway this weekend, with the Giants and Swans Academies turning out in the Coates Talent League. The Northern Territory, Lions and Suns Academies will also enter the fray throughout Rounds 4-8, and we preview what to expect from each side. LIONS ACADEMY FIXTURE:vs. Northern Knights | Sun […]

PREVIEW | 2024 CTLG Round 3 – Saturday
A FOUR-game fixture is on the cards for the Coates Talent League Girls when Round 3 begins tomorrow. We preview each of the matches and name some players to watch. FORM: It has been a long wait for the GWV Rebels, who played on opening night, going down against Geelong Falcons. Since then, the Rebels […]

PREVIEW | VFLW Round 5 – Can expectations be defied?
THE third week of the Sydney teams present in the AFLW also brings the third all-Saturday extravaganza in a row, as all 14 teams are set to take the field tomorrow. Williamstown vs Western Bulldogs10amDSV Stadium Williamstown will be glad to be back at home this week and have the chance to use its unique […]

Q&A: Megan Norbury (West Perth)
WEST Perth winger Megan Norbury posted one of the best yo-yo times at the Preseason Testing Day, with the top-age runner one of a number of West Australian AFLW draft prospects this year. We spoke to Norbury at the event about her football journey, game and future goals. Q: Megan, tell us about your footy […]

Swans and Giants enter Talent League Girls
SYDNEY Swans and GWS Giants fans have another competition to keep an eye on this weekend, with the New South Wales Academies taking part in the Coates Talent League Girls competition for the first time in 2024. Having taken part the last few years as a way of involving the Northern Academies and assisting in […]

2024 SANFLW Round 7: Friday preview
A HUGE contest under Friday night lights sees ladder leaders Glenelg face off against big improvers Woodville-West Torrens with the latter eyeing off a spot inside the top four with a win, while the Bays need victory to fend off last year’s grand finalists who are closing fast.

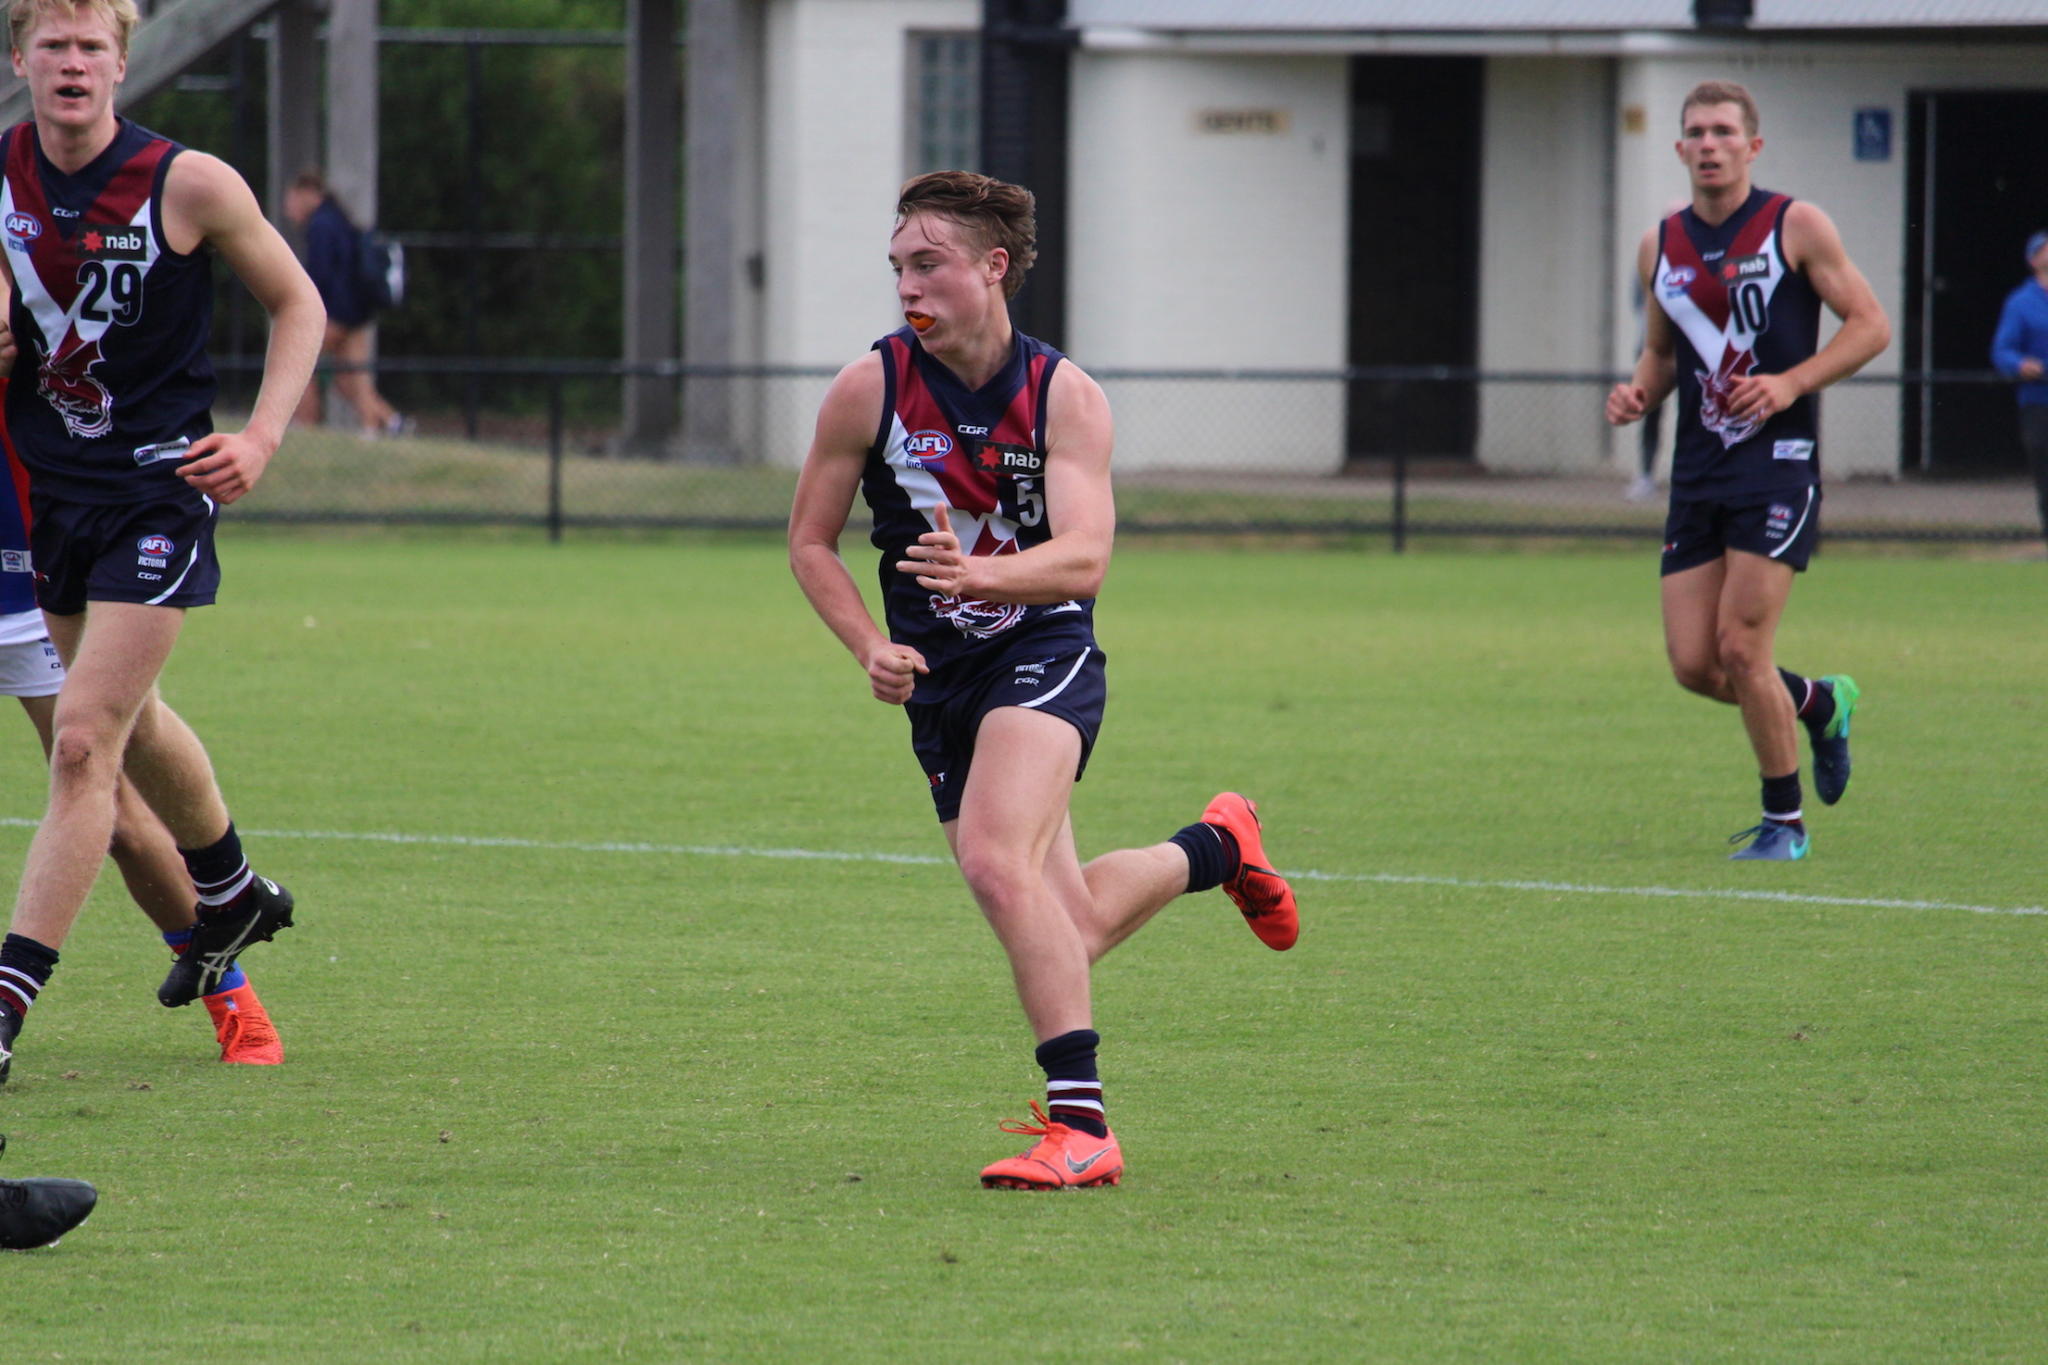
[…] NAB League Round 8 vs. Bendigo […]
[…] 2019 NAB League Round 8 vs. Dandenong […]