IN Round 6 we battled the rain up at Craigieburn, and visited Preston City Oval and MARS Stadium for this round’s scouting notes. Here are some of the extended Victorian squad players who stood out.
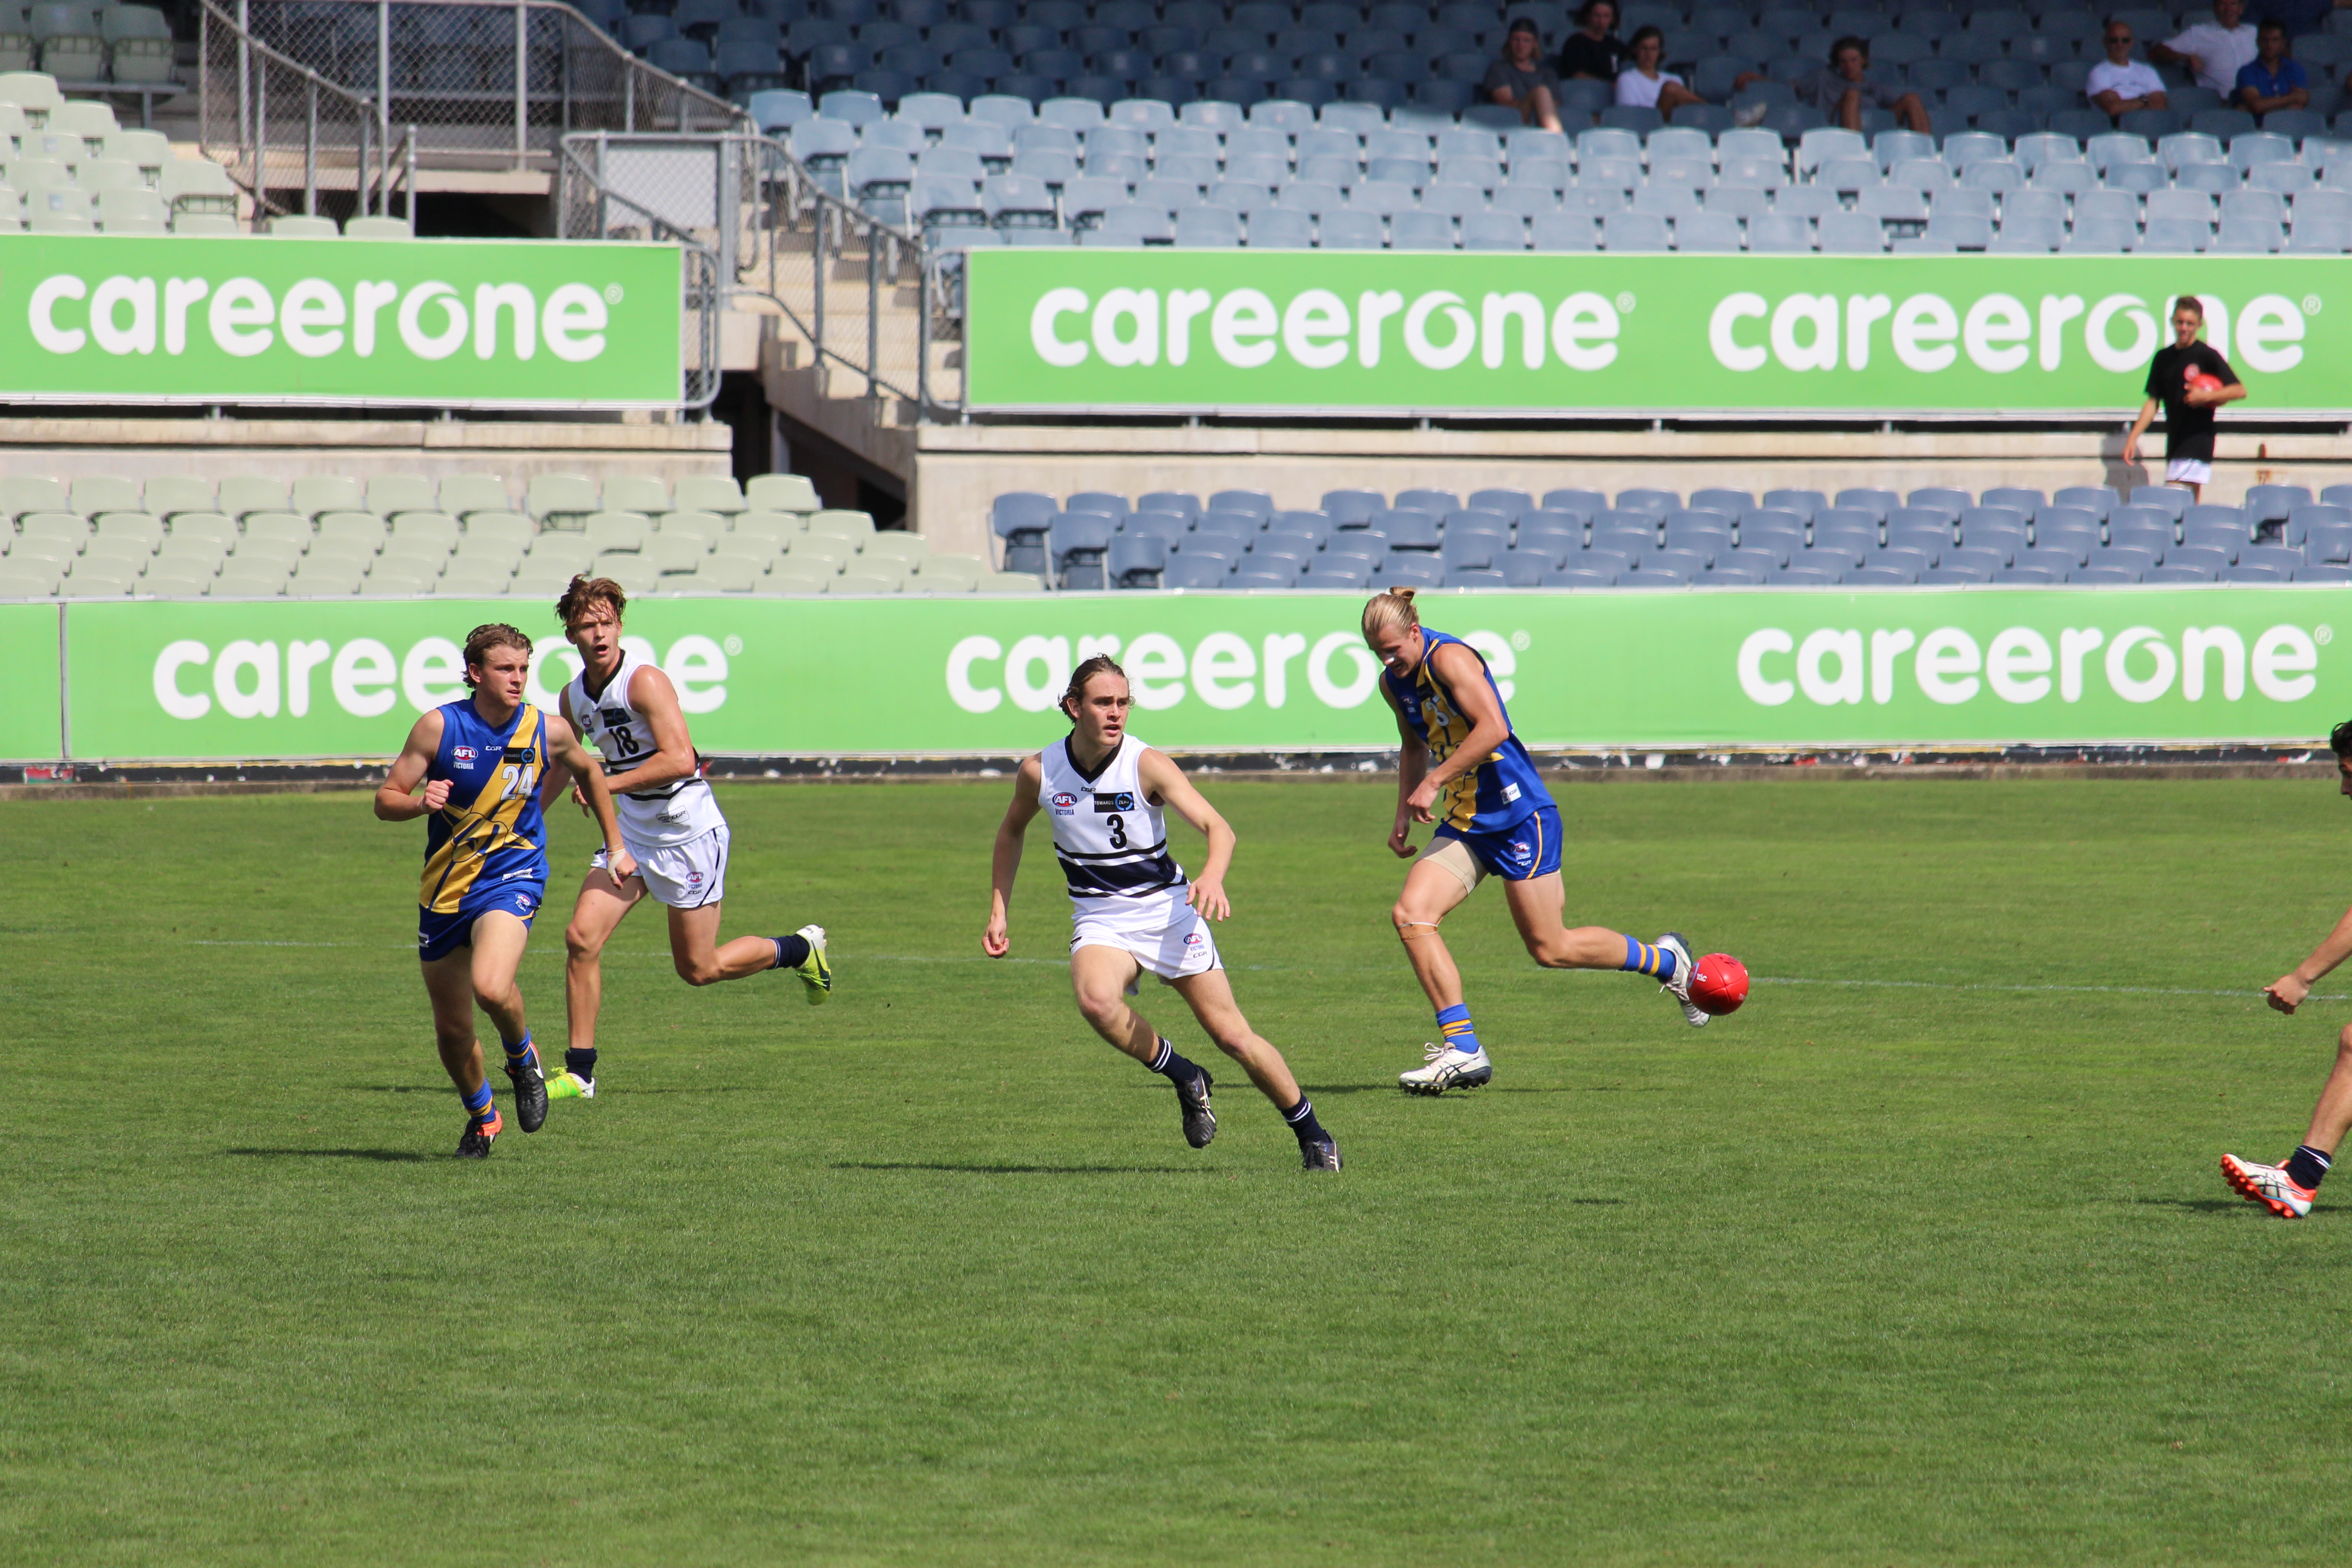
Northern Knights vs. Murray Bushrangers:
By: Michael Alvaro
Northern Knights:
#3 Braedyn Gillard
The skipper was once again one of the Knights’ major ball-winners throughout the day, accumulating in all areas of the ground. While his strengths lie in his clearance work, Gillard showed some good burst from the stoppages to set his side forward. It was a timely adjustment to his tendencies in the first half, where he often flicked out handballs to open space without any real intent, but with his side needing a lift it was obvious that he was keen to take the game by the scruff of the neck. One of his better plays was a two-bounce run from centre-wing which he finished off by lowering his eyes and finding a target inside 50, leading to a Joel Randall goal.
#7 Harrison Grace
This was one of Grace’s better games for the year, again splitting his time between the centre bounces, wing, and half forward. He was able to find a decent amount of the ball while also contributing the kind of pressure that he has become known for. Grace really started to come into the game during the third quarter, working in tandem with his skipper to win the ball in tight areas and wrestle back some momentum. His best moment came in the final term where he laid a huge tackle on Murray’s Kai Davies despite the game being all but over – that’s just the kind of player he is. A promising part of his game was also his composure, making good decisions in traffic.
#16 Tom Hallebone
Like Grace, this was one of Hallebone’s better outings so far as he consistently showcased clear improvements in his game. On paper, the ruck battle between he and Mark Marriott looked to be an even one with both players standing at 201cm and weighing in at just over 85kg. The Knights ruckman won out though, with his hitouts to advantage and deft touches highlighting the chemistry he has with his midfielders. His lean build often sees him outmuscled against some of the competition’s more monsterous ruckmen, but his bodywork has improved and he looked more comfortable while engaging. ‘T-Bone’ tended to roam a kick behind the ball and act as a kickout target, but his contested marking wasn’t quite there and he found himself running under a lot of high balls. Still, he showed some good signs while resting forward in the third quarter with a few nice marks on the lead to cap off a decent game for him.
Murray Bushrangers:
#4 Laitham Vandermeer
The overager was everywhere early on, setting the tone for his Murray teammates. His work rate was impressive, finding the ball in all sorts of areas as he ran around like an energizer bunny in the opening half, despite copping a couple of heavy knocks. It’s easy to see why he has cemented a spot on the wing over the last couple of years, with his slick set of wheels and brave use of the ball. His tendency to play on instinctively became infectious throughout the Bushrangers side, and it really allowed them to put some serious pressure on the Knights defence. He also ventured forward quite a lot and managed to bag one of Murray’s four second quarter goals with a booming set shot from the arc.
#7 Zane Barzen
While he took some time to stamp his mark on the game, Barzen provided a couple of highlights that reminded onlookers of why there was so much promise surrounding him coming into the year. Having started on the wing, Barzen found his feet playing as a deep-lying forward where he was able to express himself through his trademark aerial marking. He worked well alongside tall Hudson Garoni to dominate in the air with some strong grabs and a nice hanger. He has a pretty casual style and is a natural footballer, but will need to work on impacting more contests, more often in order to become a complete forward. He looked most dangerous in the third quarter as Murray put on five goals, but his came in the second from a classy boundary-line snap.
#12 Lachlan Ash
The bottom-ager looked right at home across half back with mature decision making and some slick movement telling the story of his game. While he plays like a typical running half back who rebounds on the outside, Ash also showed a hard-edge and wasn’t afraid to dig in when needed. He tackled hard and had an impressive moment of courage as he went back with the flight to take a contested mark in the third term. He was one of the more effective ball users throughout the day in blowy conditions, and was quite capable on both feet.
#18 Hudson Garoni
There are plenty of big-bodied forwards who have benefited from the TAC Cup zoning rules over the years, plonking themselves forward and easily beating their direct opponent one on one. Hudson Garoni is cut from a different cloth – bringing a good work rate, dynamic repeat leads, and ground-level prowess back to the art of being a key forward. He was hit up from the very first centre clearance, setting the tone for much of the day as he worked well up the ground and was a constant threat inside 50, ending up with two goals. One of them came after taking a massive speckie in the final term from a rain-catcher, and his hands were very good all day.
#23 Mark Marriott
While he may have been narrowly out-pointed in the ruck battle over the course of the game, Marriott showed a good hunger for the contest and moved well around the ground. His repeat efforts were important, and while he might not always have the highest of disposal counts, his work at the base of the stoppages proved to be valuable. Like Hallebone, he was moved forward for some of the second half, but couldn’t quite find the goals.
#28 Kyle Clarke
Clarke was one of many impressive cogs through the Murray midfield and forward line. He looked lively wherever he went and in particular, created some good opportunities for his side in the forward half. Clarke’s work at the stoppages was notable as he was constantly on the move, allowing him to generate shots on goal from nothing. Despite failing to sink one through the big sticks, Clarke’s impact was notable and his clean use was outstanding in tough conditions.
Calder Cannons vs. Western Jets
Calder:
#5 Curtis Taylor
Did not hit the scoreboard, but still won plenty of the ball. He took a number of marks across the ground spreading and was able to direct the ball forward and keep it moving in transition. He had a number of inside 50s on the night and his kick-to-handball ratio stands true in wet weather football.
#8 Lachlan Sholl
Like many players in the first half plagued by poor conditions, started slowly before really turning it on in the second half. He was crucial out of defence, rebounding from thr back half on a number of occasions and having the ball on a string in the second half. He used it well, spreading from half-back to the midfield and was constantly used in transition.
#33 Jack Evans
Another solid game from the defender who pushed further up the ground in the match, having more impact at the stoppages and going inside 50. Instead of being the key architect out of defence, he was found to be more of a playmaker going inside 50, and was effective when the going was tough early, and in the final term. Was reliable by hand or foot.
Bendigo:
#20 James Schischka
Another consistent performance from the midfielder who was a more prominent ball winner for the Pioneers. He spreads well and was able to kick the ball clear out of defence on a number of occasions. Schischka is good with his hands and had a big final term trying to get the Pioneers back into the contest late.
Greater Western Victoria (GWV) Rebels vs. Oakleigh Chargers
By: Cameron Ross
GWV Rebels
#3 Scott Carlin
Carlin played on the wing today and was really important for his side in the first quarter. The Rebels were having a hard time adjusting to the windy conditions and were under constant pressure from the opposition. Carlin lead the way, by taking the game on and creating run under pressure. This released the pressure on the midfield and helped the Rebels to get to quarter time without much damage on the scoreboard. Played an “outside” style of game today, looking for pockets of space and being an outlet at stoppages.
#14 Jed Hill
Signature game from Hill, where he would be quiet for five minutes and then would do something breathtaking. Two examples of this today, the first being in the third quarter where he pounced on the loose ball and picked it up with one hand before stepping around his opponent and cleanly disposing of the ball to a teammate. The second was in the final term where he had the ball spoiled but kept his feet as the ball hit the deck and snapped on his opposite boot from 35 out. The latter was greeted with cries of amazement and applause by the MARS Stadium crowd. Not only was Hill important up forward, but this season he has proven his ability to be a defensive forward. Hill laid some big tackles and would chase down lost causes, one resulting in a Chargers turnover, and a possession for his teammate. Another classy game from a classy player.
Oakleigh Chargers
#1 Riley Collier-Dawkins
Collier Dawkins spent a lot of time forward today and had an opportunity to win the game for his side with the last kick of the game. Unfortunately, he missed, but his efforts in the final quarter were a big reason his side got as close as they did. Collier Dawkins had repeat inside 50’s and was dangerous in the air and at ground level. He kicked one goal in the final term but could easily have kicked three.
#13 Atu Bosenavulagi
He had an outstanding first quarter, kicking two goals and asserting his physicality in the contest. Bosenavulagi was quiet after quarter time and was caught holding the ball while attempting to break tackles too often. Good tacklers such as Lohmann and Dawson were able to curb his influence as his intention to take on the tackler became obvious.
#22 Dylan Williams
Big game from Williams he took at least three intercept marks, some that were heavily contested. His skills were outstanding on a day that was difficult to take overhead marks and kick accurately. Williams created important run for the Chargers out of defence, especially with the wind, where he would dash out of defence and then kick the ball long.
#23 Isaac Quaynor
Quaynor had a solid game and worked extremely well with Williams down in defence. He took a couple of nice intercept marks, but was beaten at times by Wilson and Giddings one on one. Quaynor laid a few huge tackles and showed some dash out of the backline. He is an exciting player to watch and one who is clearly willing to put it all on the line for his team. He had a courageous bit of play in the final term going back with the flight only to get cleaned up by his own ruckman. Quaynor proved his toughness by quickly bouncing to his feet and continuing the game.


Coates Talent League officially launched
AUSTRALIA’s premier AFL talent pathway has undergone its third rebrand, with the official launch of the Coates Talent League today. Set to enter its 32nd year in 2023, the competition started out as the Victorian State Football League (VSFL) in 1992, before perhaps being most famously known as the TAC Cup, and most recently the […]
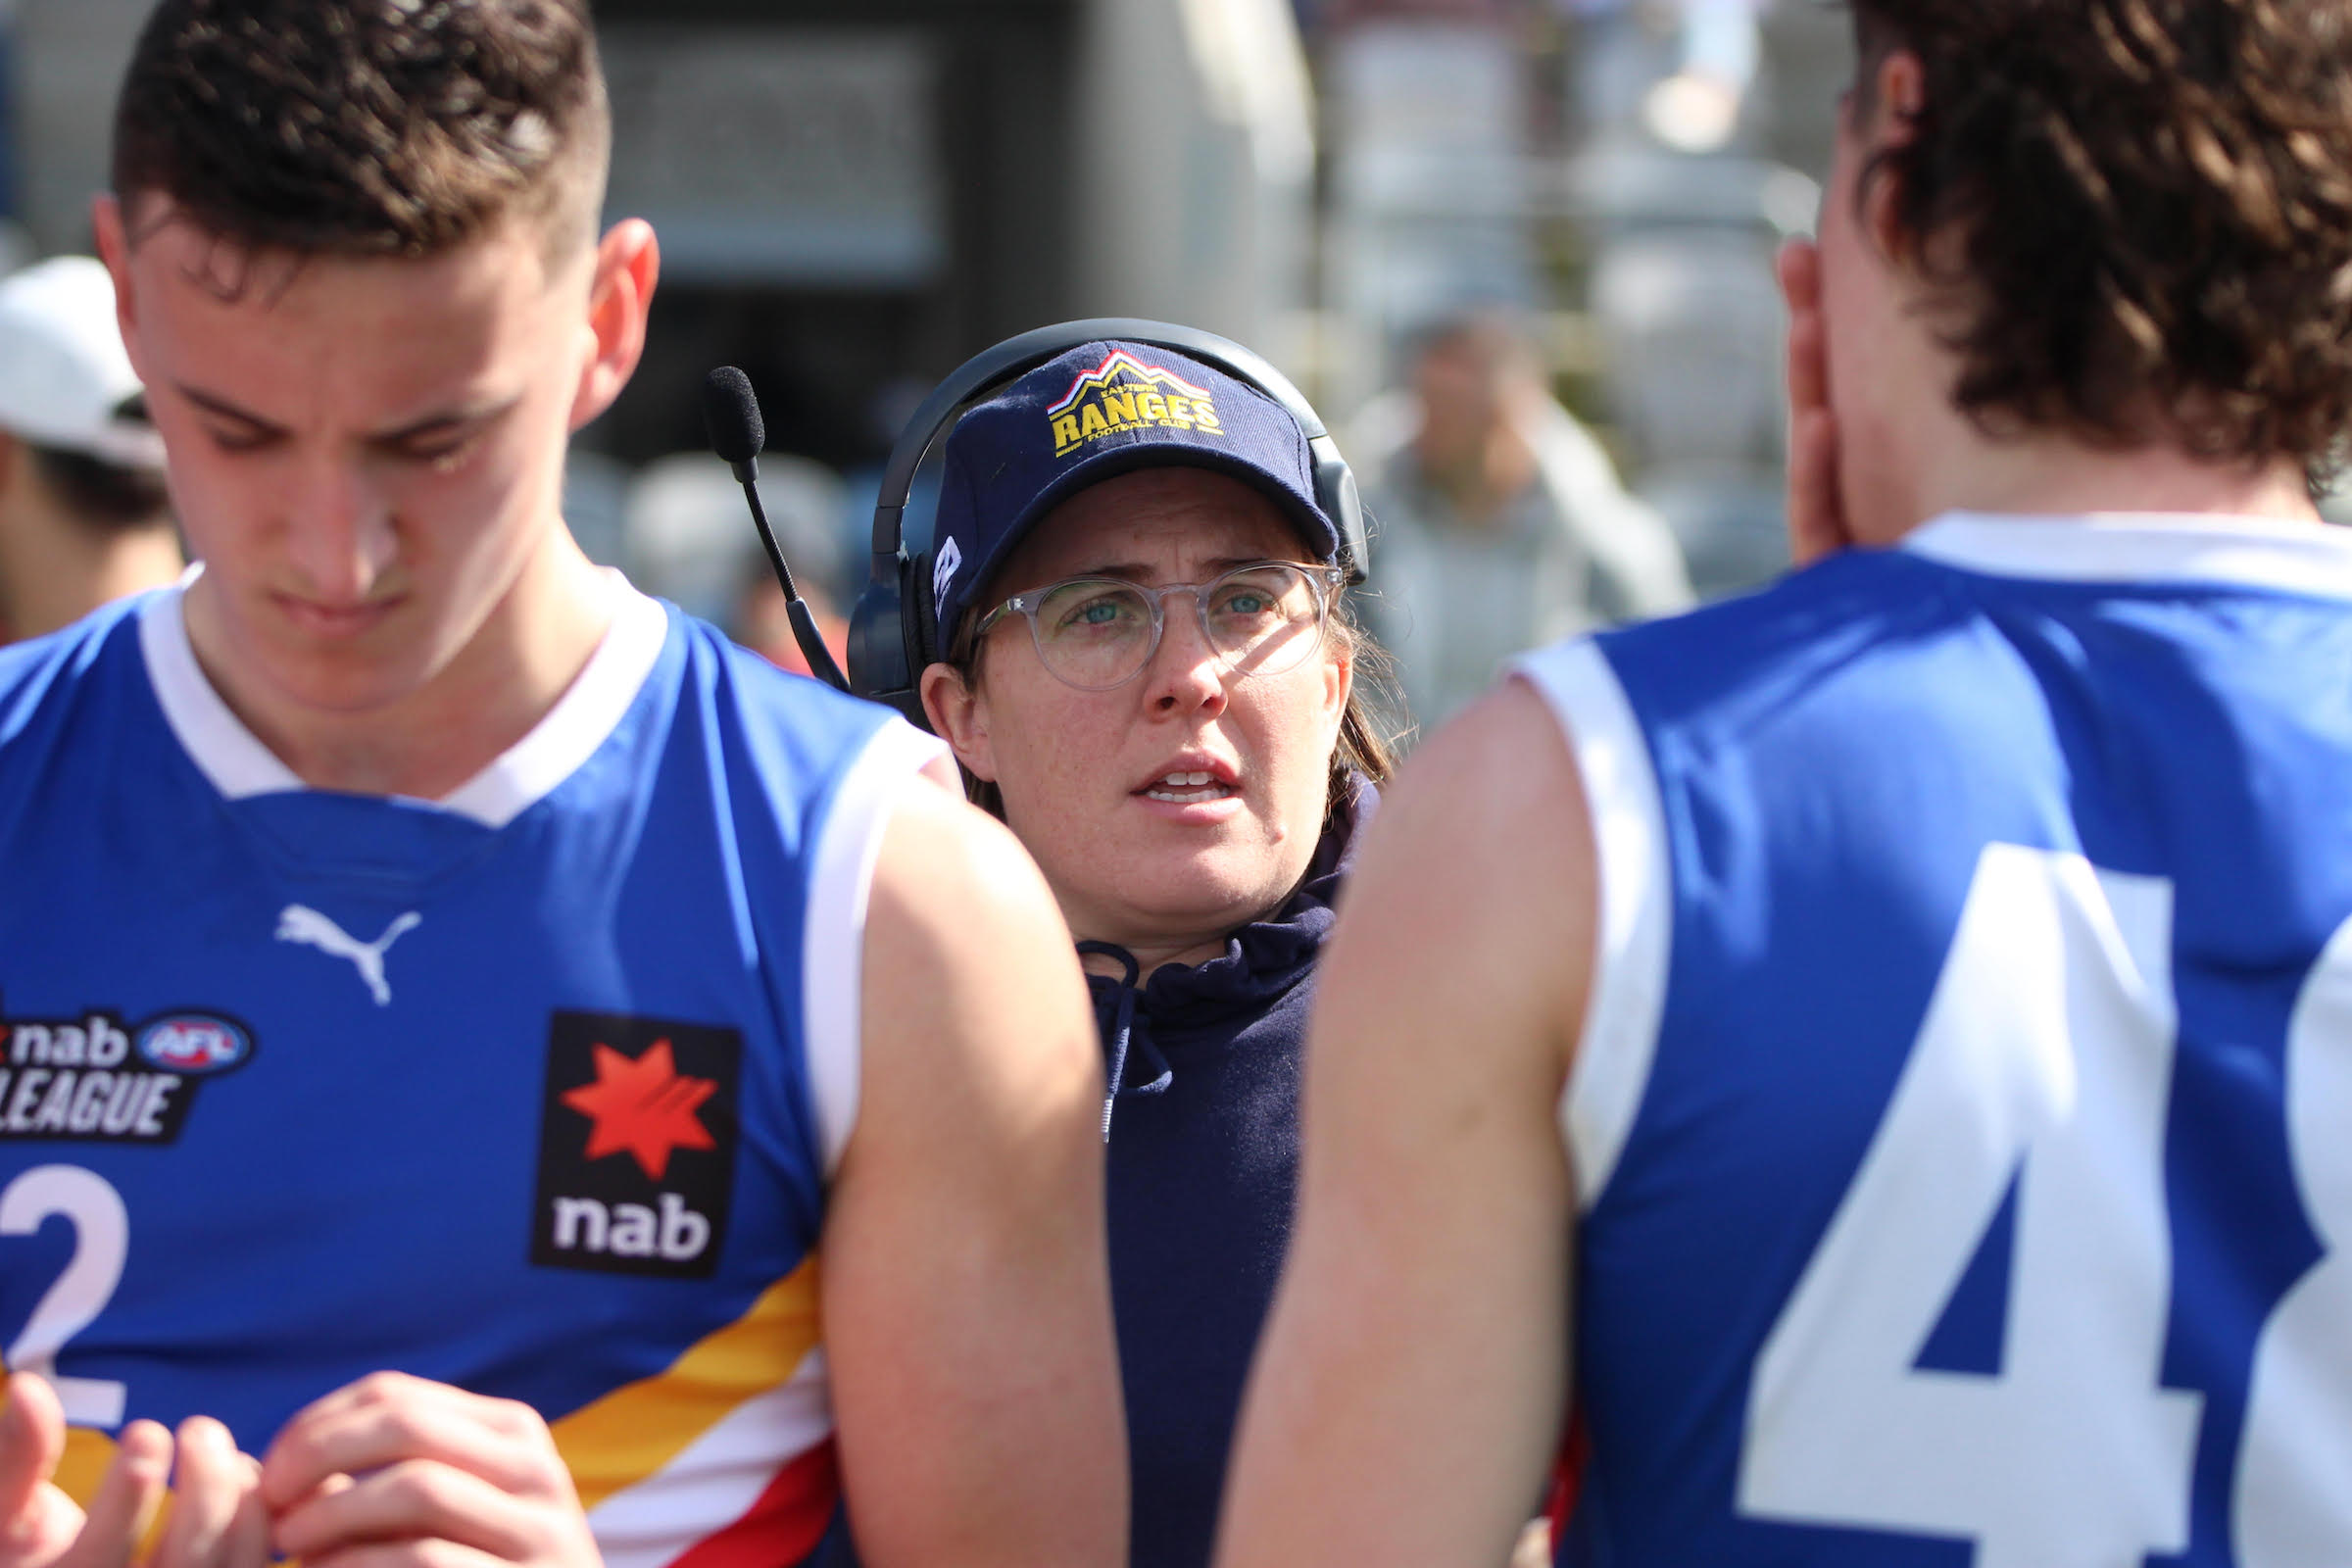
2023 NAB League coaching changes
NAB LEAGUE regions in Victoria and Tasmania have all but completed their coaching appointments for 2023, after it was announced that roles would again been split between girls and boys teams. The move comes as part of the AFL’s commitment to boosting resources in the girls’ talent pathway, with all regions now having dedicated full-time […]

AFL Draft | 2023 Vic Metro Boys hub
FOLLOWING suit from its Country counterpart, Vic Metro announced the 2023 boys and girls talent hubs on Wednesday. Top and bottom-aged footballers budding for next year’s draft have been included in the combined list of 41 names, with split 22 to 19 between the respective groups. We highlight some of the players to watch from […]
AFL Draft | 2023 Vic Country Boys hub
VIC COUNTRY officially announced its 2023 State Hub on Friday, with the 25 chosen athletes participating in a two-day camp over the weekend. We highlight a bunch of players to watch next year, as well as some names for the future. >> SCROLL to see the full hub list AFL ACADEMY MEMBERS Zane Duursma (Gippsland […]

2023 Vic Country Hubs released
VICTORIA’s top young Country stars have been named as part of the State Hub for both male and female junior football. Picking squads of 20 (girls) and 25 (boys), the hubs will form the early basis for Vic Country’s 2023 AFL and AFLW Under 18 Championships. The squads will come together from tonight as part […]

“Mad Pies fan” McMullin hopes for chance
PORT Fairy’s Toby McMullin has grown up bleeding black and white. It is little surprise that the Sandringham Dragons forward/midfielder and Vic Country representative has been conditioned to following the Magpies, a club where his father Ian played 25 games, and then served on the board for over two decades. “I’m a mad Collingwood supporter, […]

Wardlaw “proud” of journey, ready to get stuck in
OAKLEIGH Chargers young gun George Wardlaw is “quite proud” of what he has been able to achieve over his junior football career, with the star midfielder set to join North Melbourne in tonight’s AFL Draft. While the majority of players are unaware of their destination over the next two nights, Wardlaw has known for some […]

Mackenzie grateful for experiences
ST KILDA Next-Generation Academy (NGA) member Cameron Mackenzie is no guarantee to make it to the red, white and black, but regardless of the colours he pulls on in 2023, the rising young gun is just grateful for his football experiences. Taking a journey along a road less travelled, the teenager spent a year in […]
Crows conundrum as Dons’ Davey delight
COLLINGWOOD is considering a bid on Adelaide father-son Max Michalanney with its first round selection in a shock move that would effectively wipe the Crows out of the first 60 picks. Collingwood’s Pick 16 – which will become at least 17 due to the bid on Will Ashcroft – would remove picks 42 and 52, […]
